So, another week has gone, and few more projects were completed, and then Maura decided to add pattern tester to our job description!
So, here it is. After copious notes and pictures here is the rundown of this adorable little number called the Bumblebee B dress from Sewing Mama RaeAnna. You can visit her blog or Facebook page from our Others We Love page.
So here it goes. First you must have a pattern. We use a lot of PDF patterns as they take up no space except on your hard drive and you print out only what you need. I like to trace onto interfacing (non-fusible) as you can see the fabric through it for optimal pattern placement.
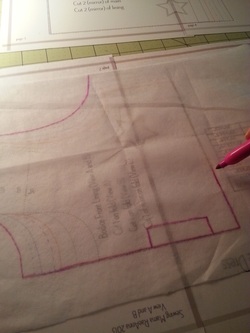
I use Sharpie simply because I have them and they don't rub or fade. The pink was merely because it was handy. Make sure you mark important things like fold lines (that box on the bottom of the picture indicates that the edge is to be placed on a fold), size, and which piece. In this case, this was a front bodice piece. I also like to put whether I have to cut one, or two, or if they should be mirrored, stuff like that. You do not want to cut something backwards, or upside down! Eek!!
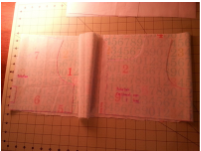
I cut the pieces as directed, though I streamline the process simply by folding the fabric strategically to get the most out of the piece I was using. See how you can see the pattern through the interfacing? It helps if you have specific portions of the fabric to be centered or showcased. :)
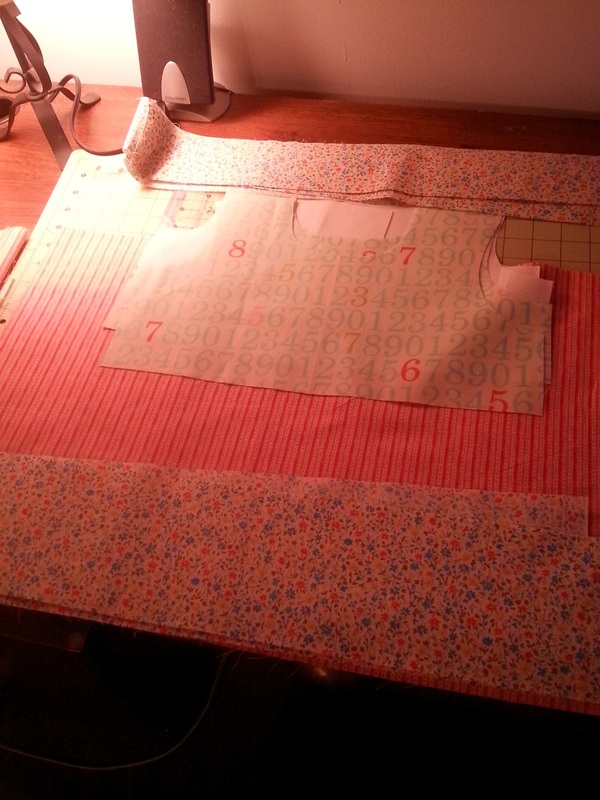
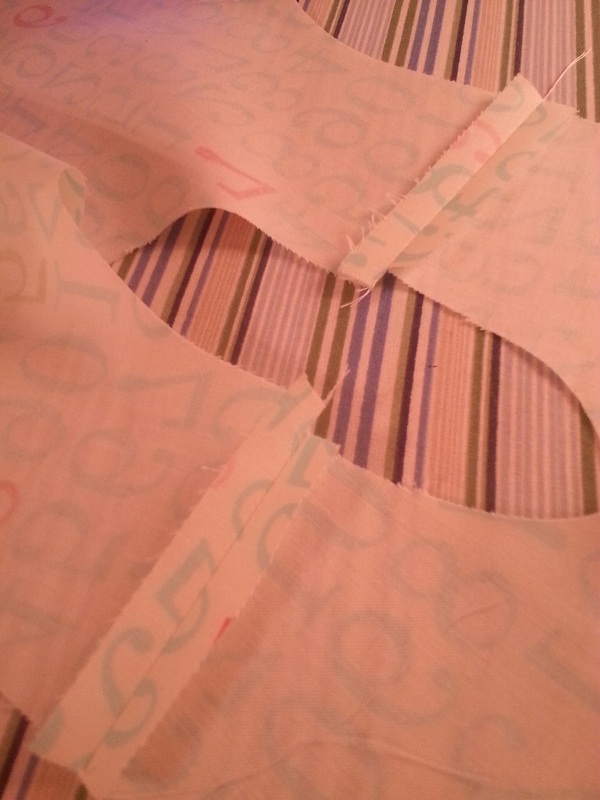
The rest were just strips to be cut straight across the fabric. Measure twice and cut once. In our case, we measure about 8 times, and then one more time, and THEN cut. Because we were testing the pattern I had to adjust a little to get the proper sizes, since some measurements weren't quite right. Here are the pieces ready to finally be put together!
And we start to sew. The directions had 3/8" seams. This is REALLY, SUPER important to follow the seam allowance or the size you thought you were making will turn out wrong. Here you can see the initial pieces were slightly off in size, but that is why we are testing the pattern, to work out the kinks. :) I just left it and then trimmed as I went along to make it even out.
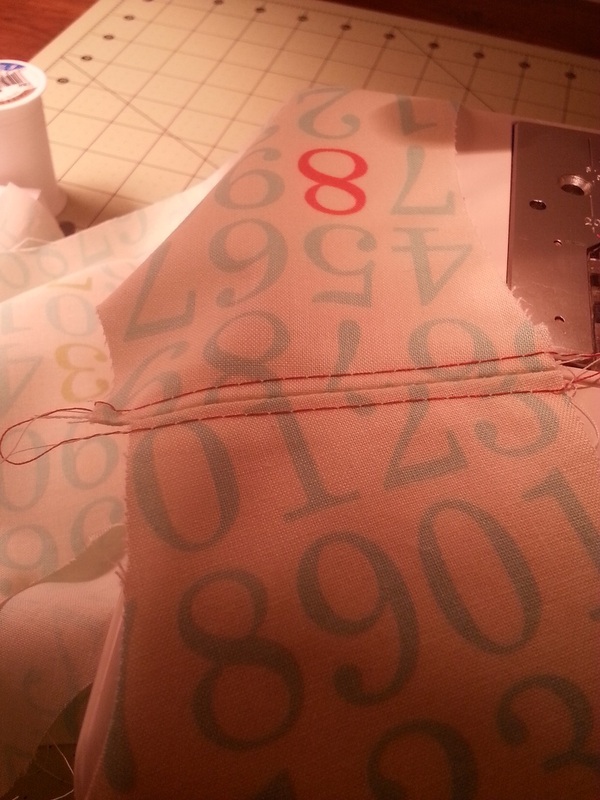
Not a necessary step in most construction, but we always topstitch. We either color match or use a pretty contrasting color. It helps to add strength to the garment, as well as giving it that polished look. It takes the piece from being homemade to HANDMADE, and that is a huge difference. In this instance I had to do it at this point instead of after most of the construction was done because of the intricacies of the rest of the bodice. And the ends would be sewn up in the rest of seams. Clean and beautiful!
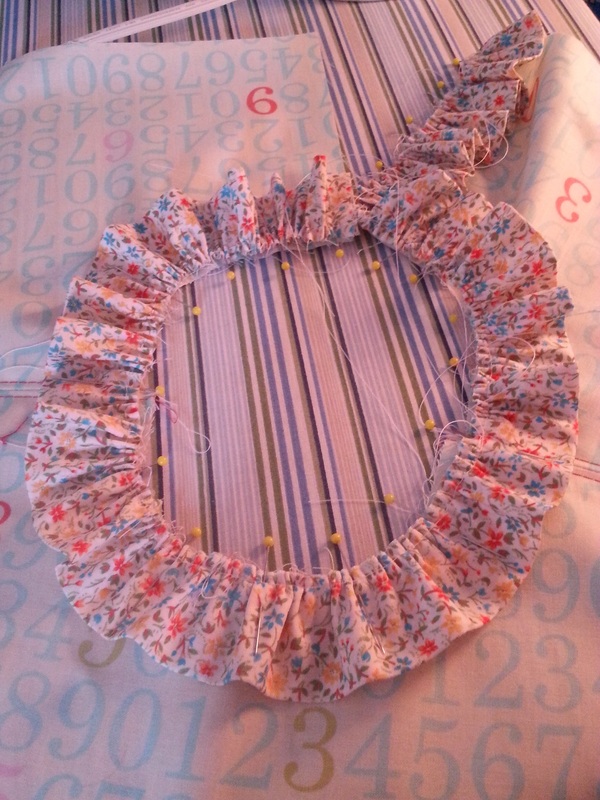
Remember when I talked about ruffles? You see all those pins? Yeah, we do that on everything that has ruffles. This ensures we get a nice, even ruffle all the way around. I don't know about you, but that is dedication right there!
Just keep ruffling!
Just keep ruffling!
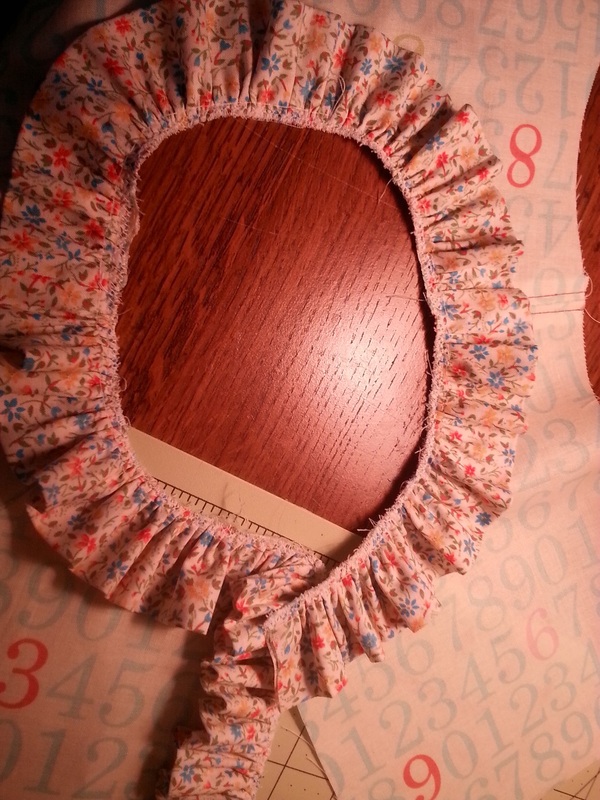
I like to finish of all the raw edges, even the ones that will be encased, to prevent unraveling and increase the strength. We use an overcast stitch, which is similar to a serged edge. Neat, clean, strong. Exactly what you need for clothing, especially on super active children!
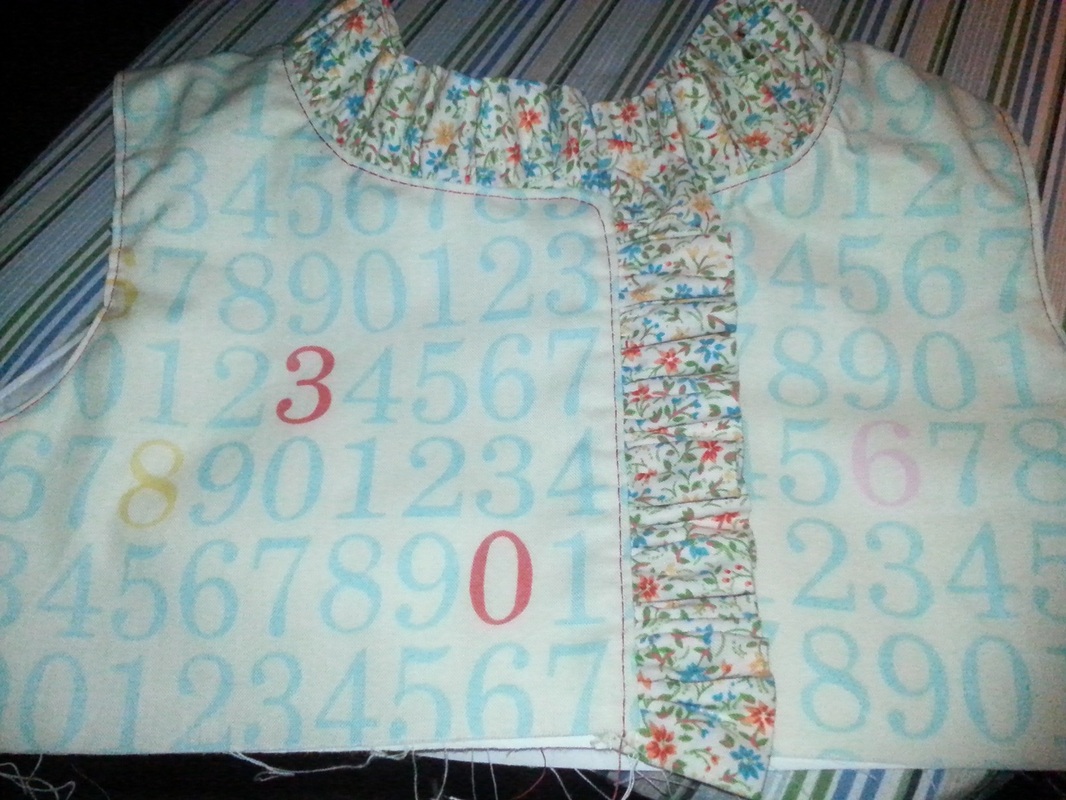
Here we have the whole bodice with the ruffle turned right side out. Before topstitching along the ruffle and the armholes, I snipped the seam in small intervals along the curves so it would lay flat. When you do this, you have to ensure you don't cut into the seam or the whole thing will either unravel or you may end up with a hole. Trust us...there is personal experience behind there...

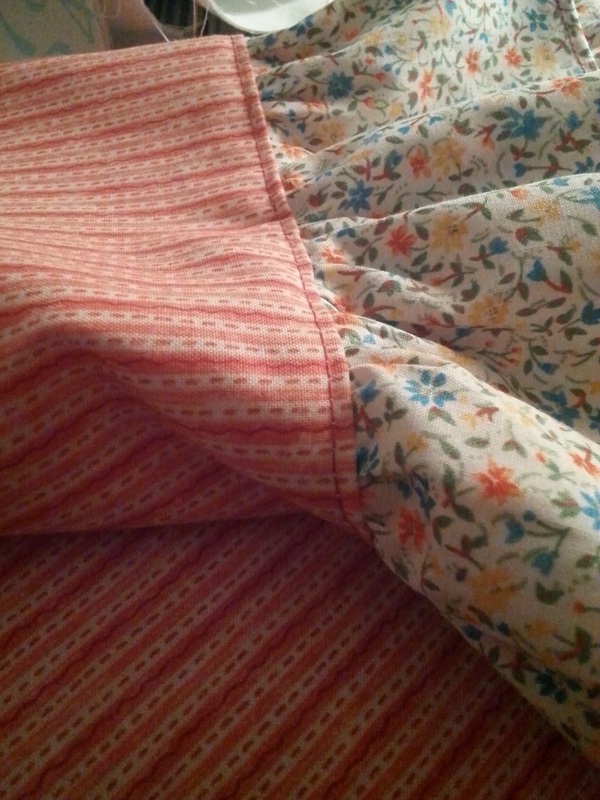
We repeat the sewing process on the skirt and the skirt ruffle. This is just a close up of the skirt ruffle after being attached to the skirt. The straight stitch keeps the gathering in place while the overcast stitch has closed the edges and set the seam. Occasionally there are random threads poking out, we can just clip those.
Topstitching, topstitching, topstitching! I make sure the seam is up away from the gathers, and then lock everything into place with this stitch. We use a longer stitch, but not the longest, about an 1/8" from the seam. The flap made from joining the 2 sections together are now secured and less likely to irritate the wearer or get caught on anything. Because I was testing this I didn't use my preferred method of using a flat felled seam, but that ensures that the raw edges are encased and everything is sewn flat. Now that I have made this once, I can start to utilize my other methods of sewing this together.
The final steps were to attach the bodice to the skirt and add the button. The methods for doing that are the same as above.
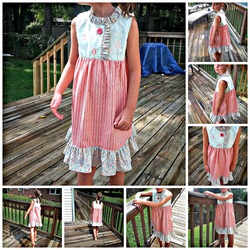
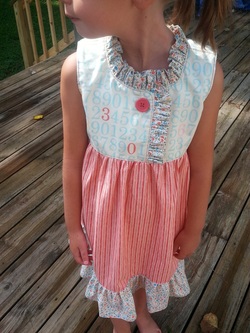
And here is the final product! There were small tweaks that we both found to be made to the pattern, and I am so pleased with the overall outcome with it. Plus, Ally doesn't want to take it off!
I think this will be added to our ever growing repertoire of pieces for you to choose from, but we want to know, what do you think?!

Jen
 RSS Feed